Version Control of SoloLearn on Github
Contents
- 1. Previous requirements
- 2. Create repository on Github
- 3. Configure public and private key
- 4. Upload files to the repository
- 5. Results of changes
1. Previous requirements
2. Create repository on Github
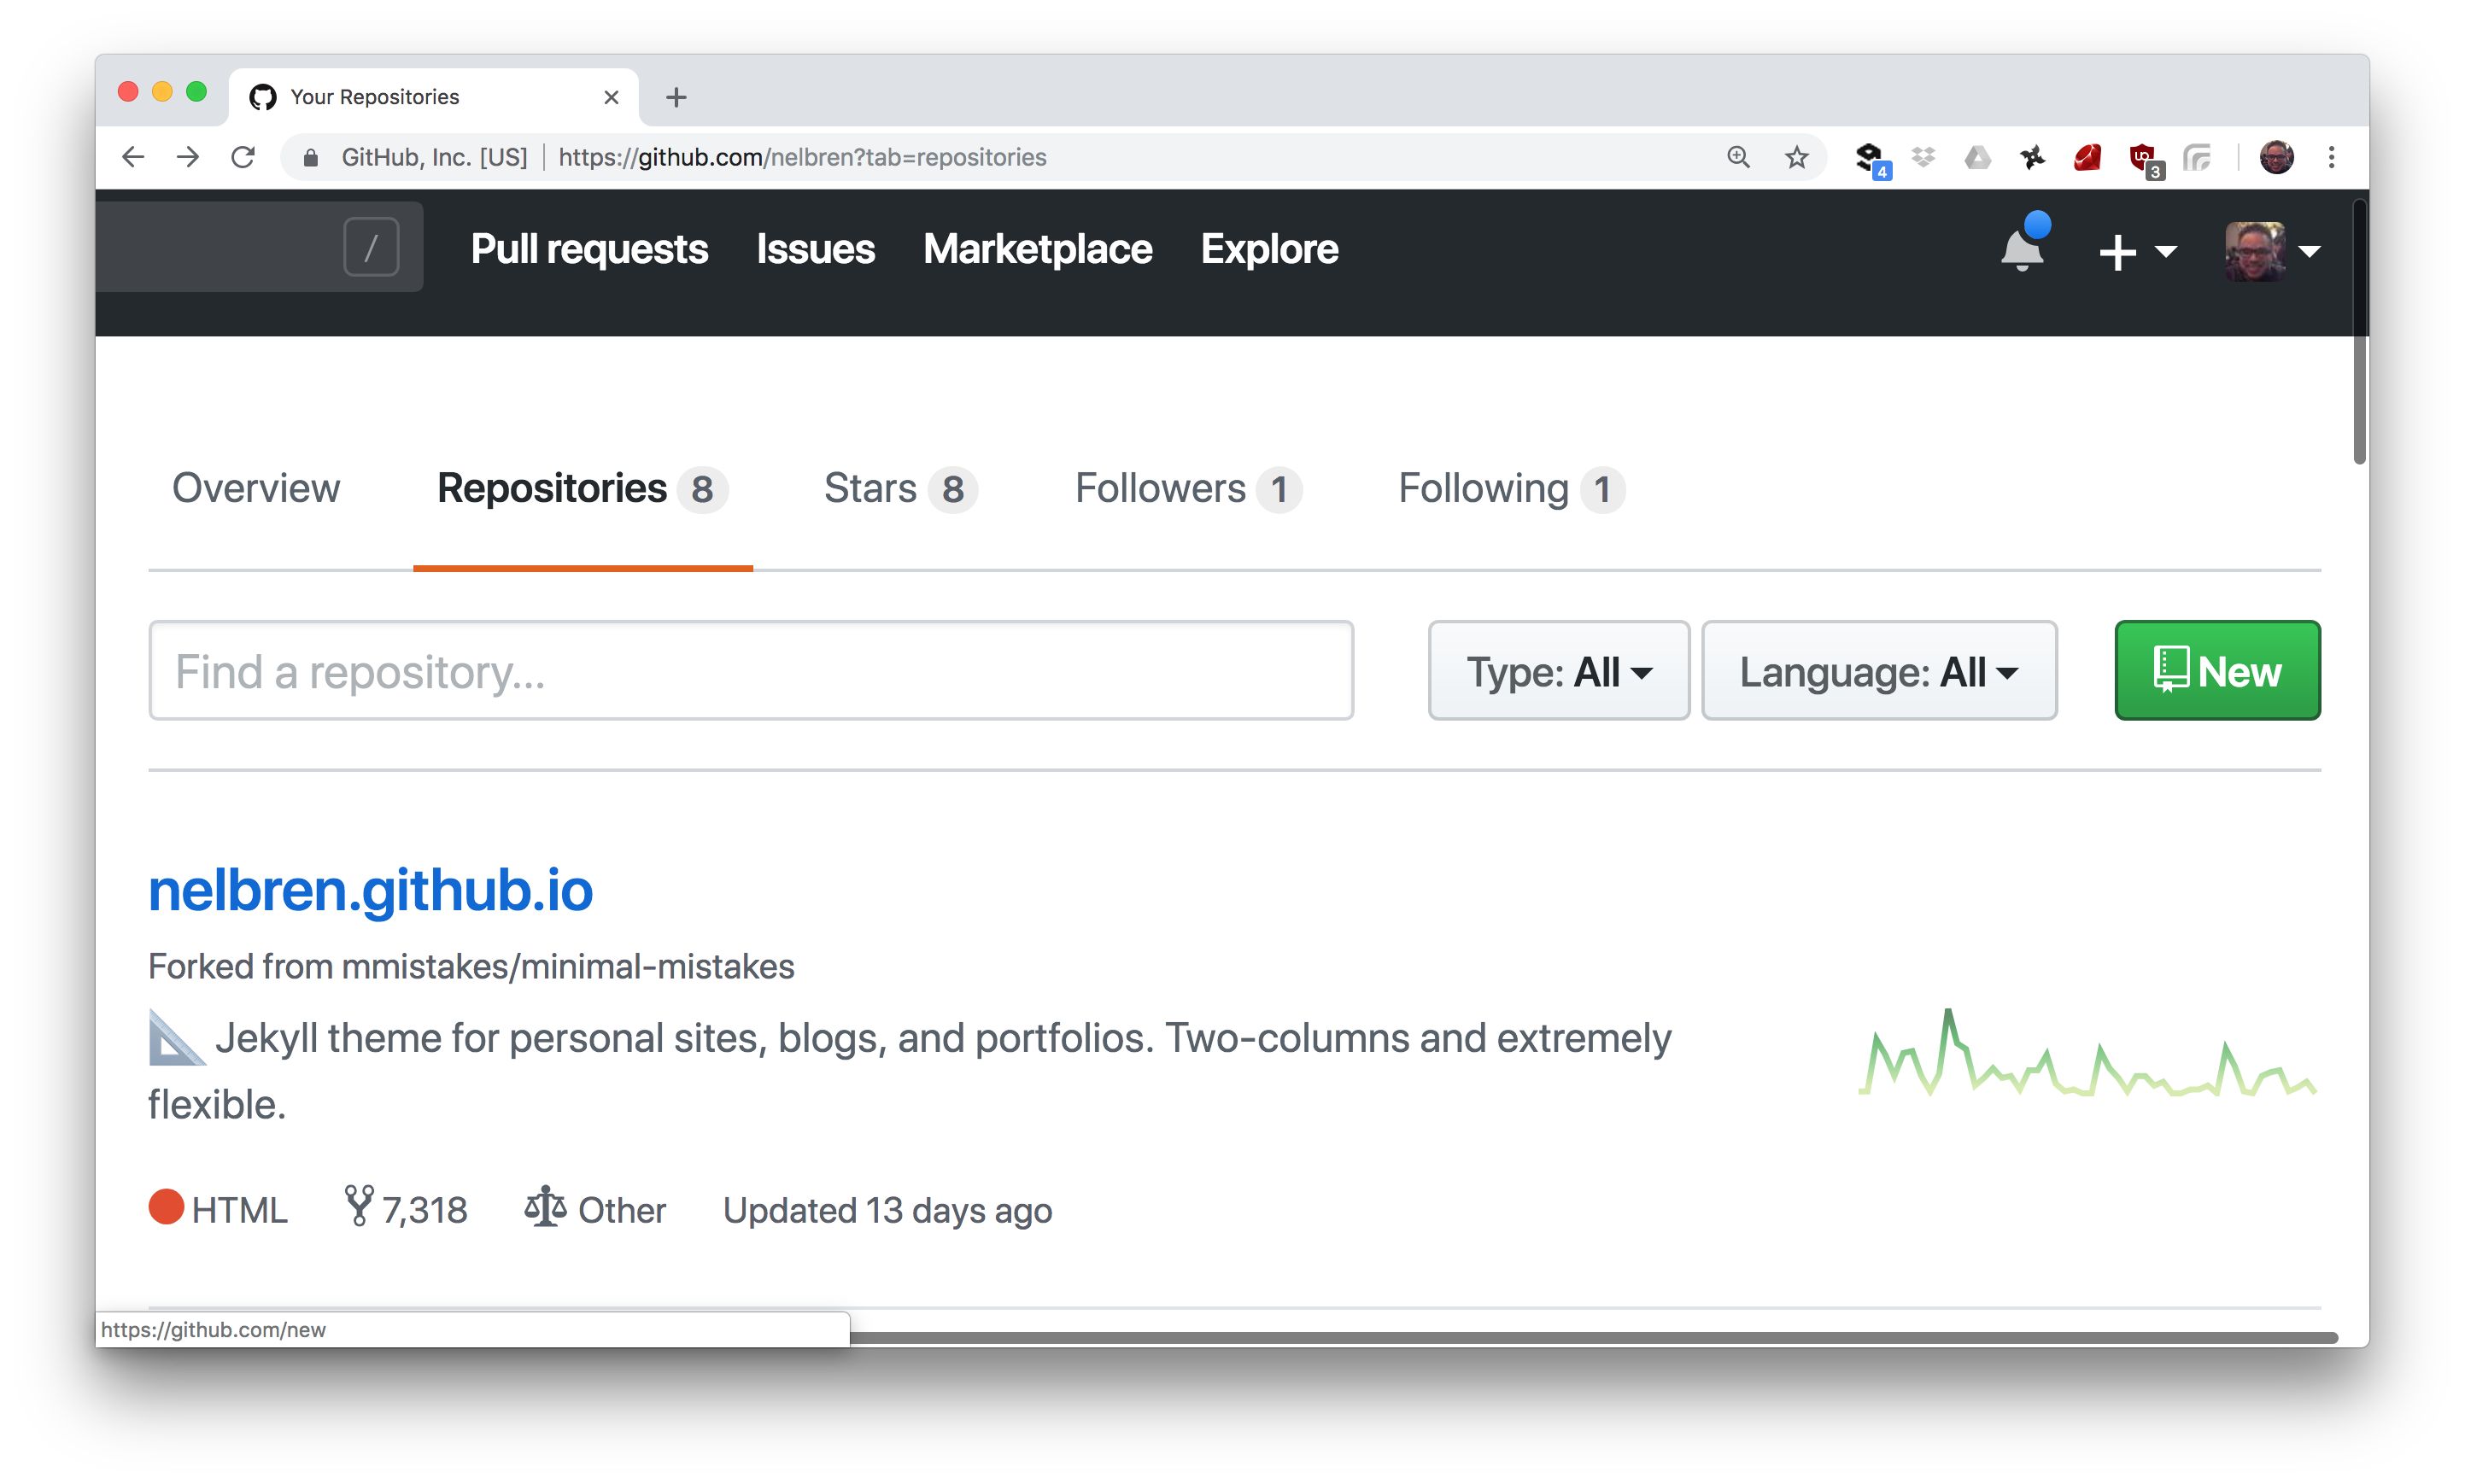
- Click on New
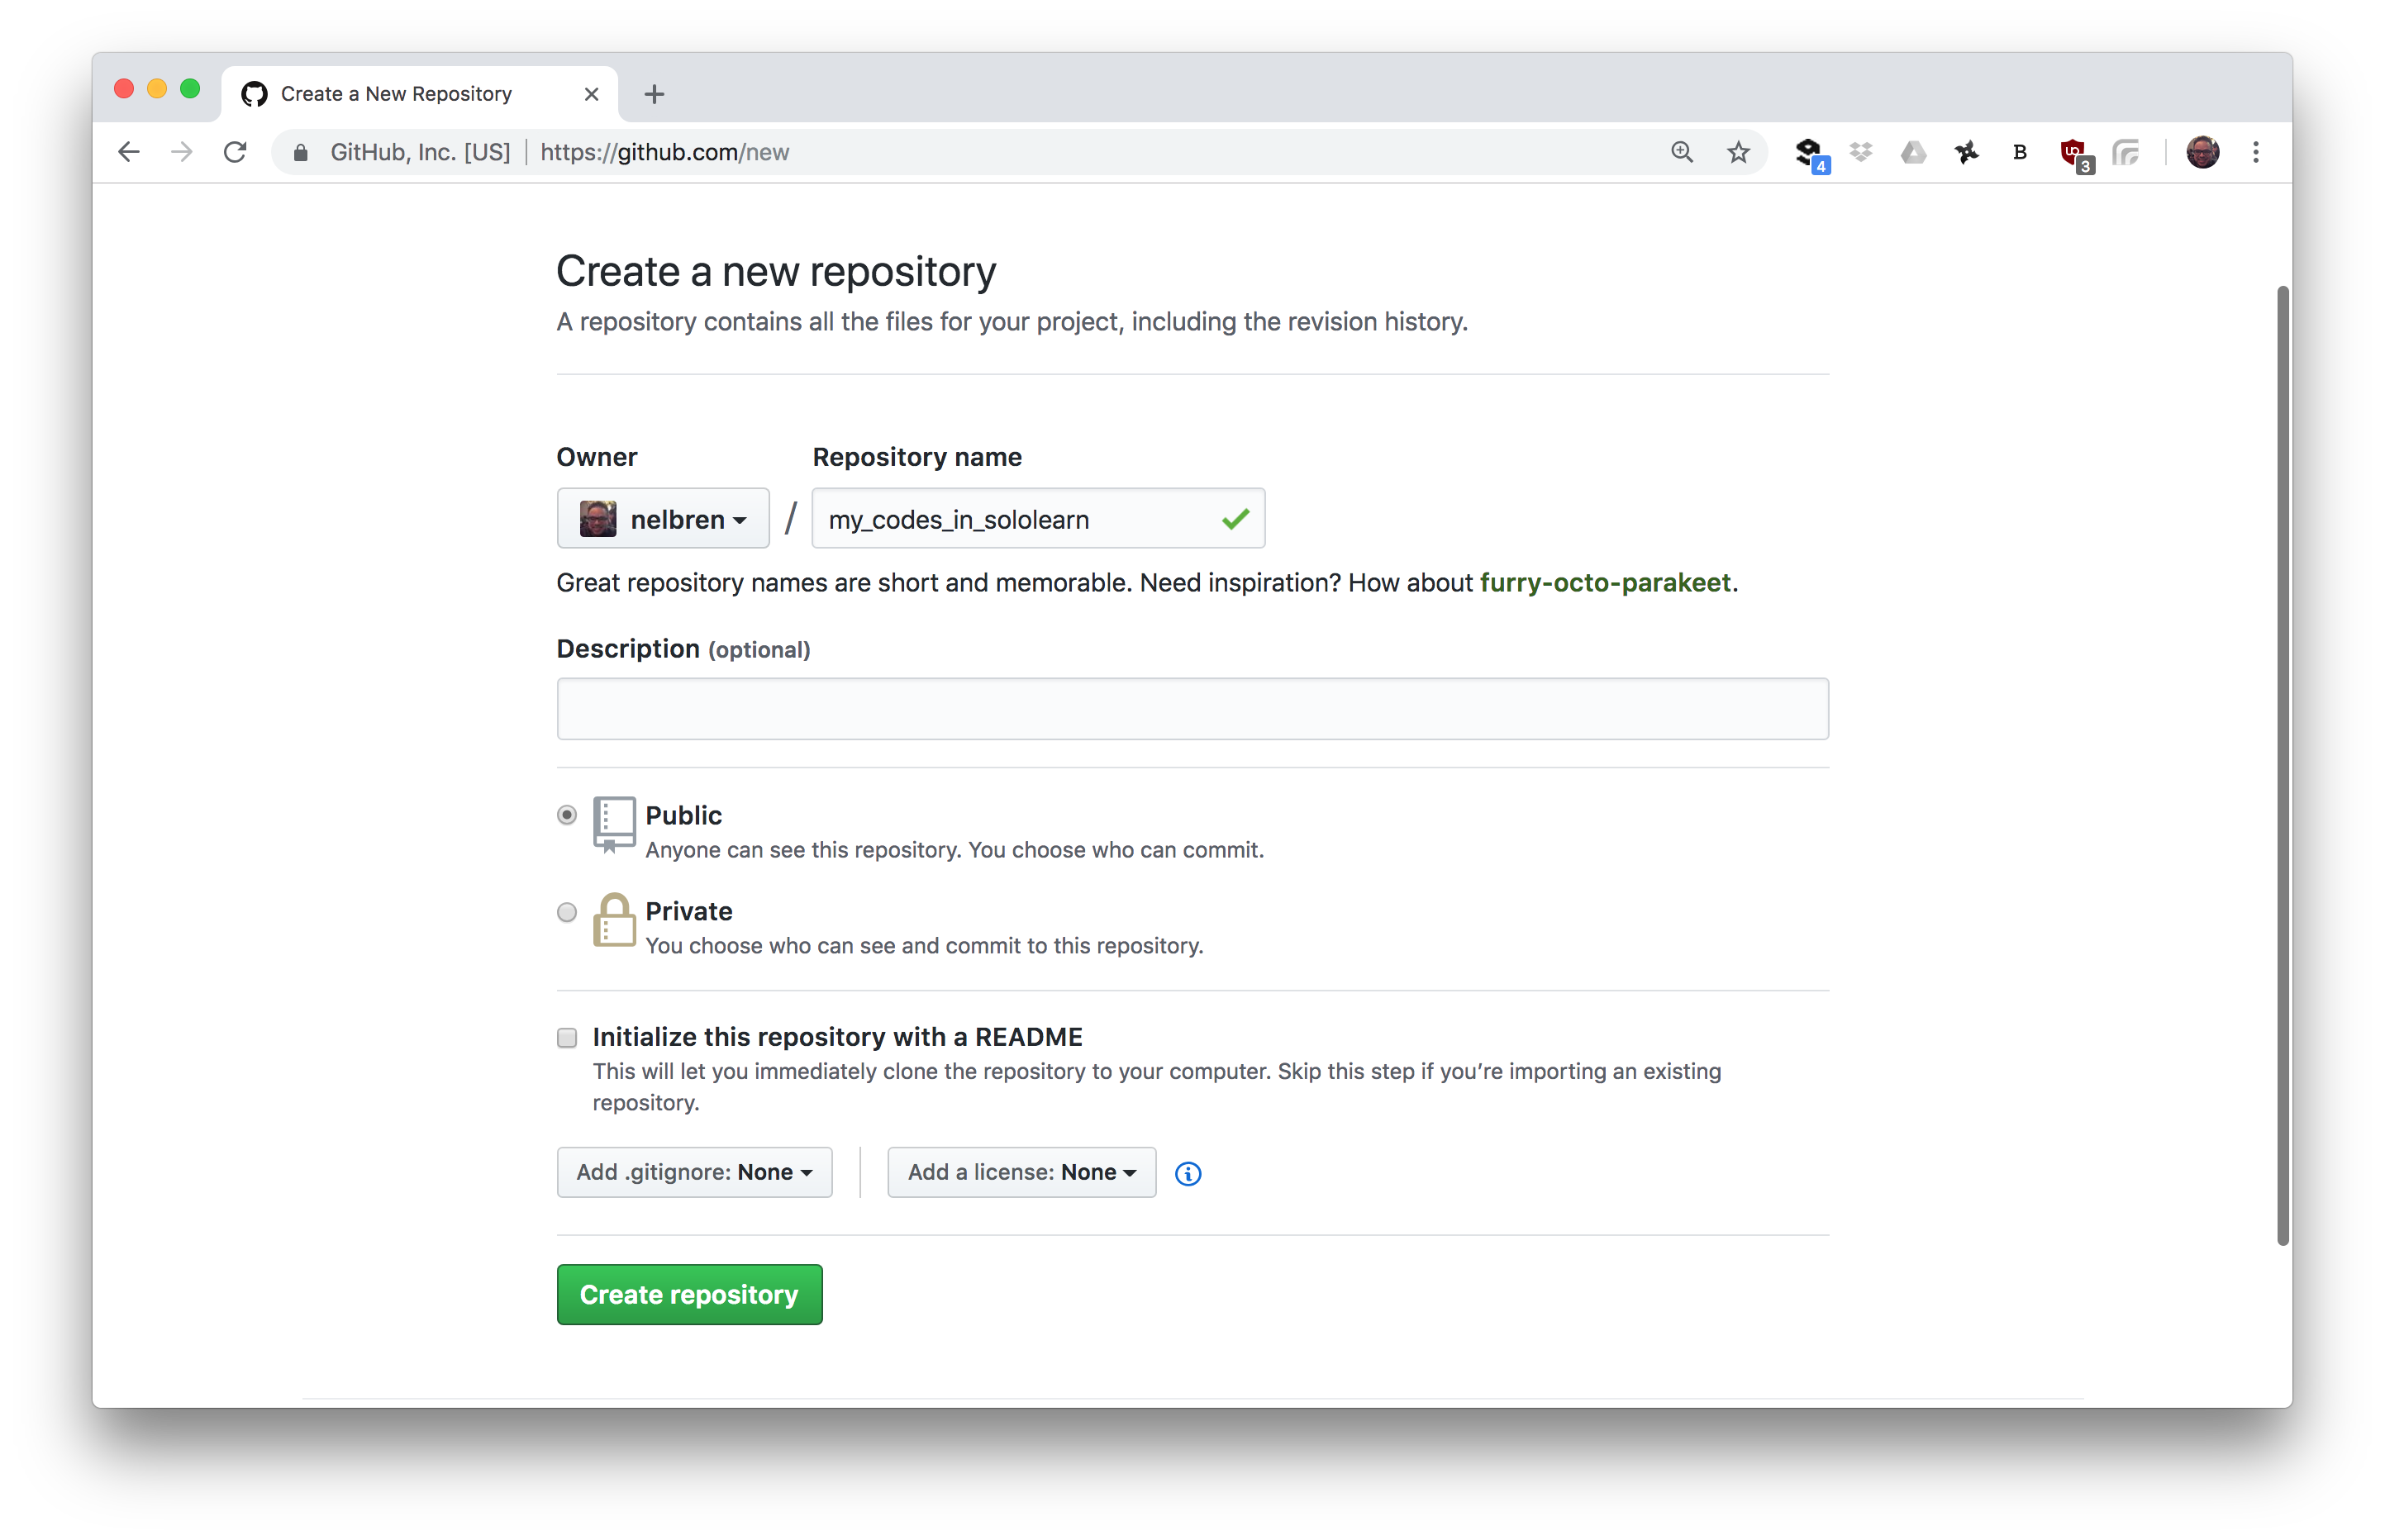
- Write the name of the repository my_codes_in_sololearn and click on Create repository
- Select the connection method to GitHub https o ssh
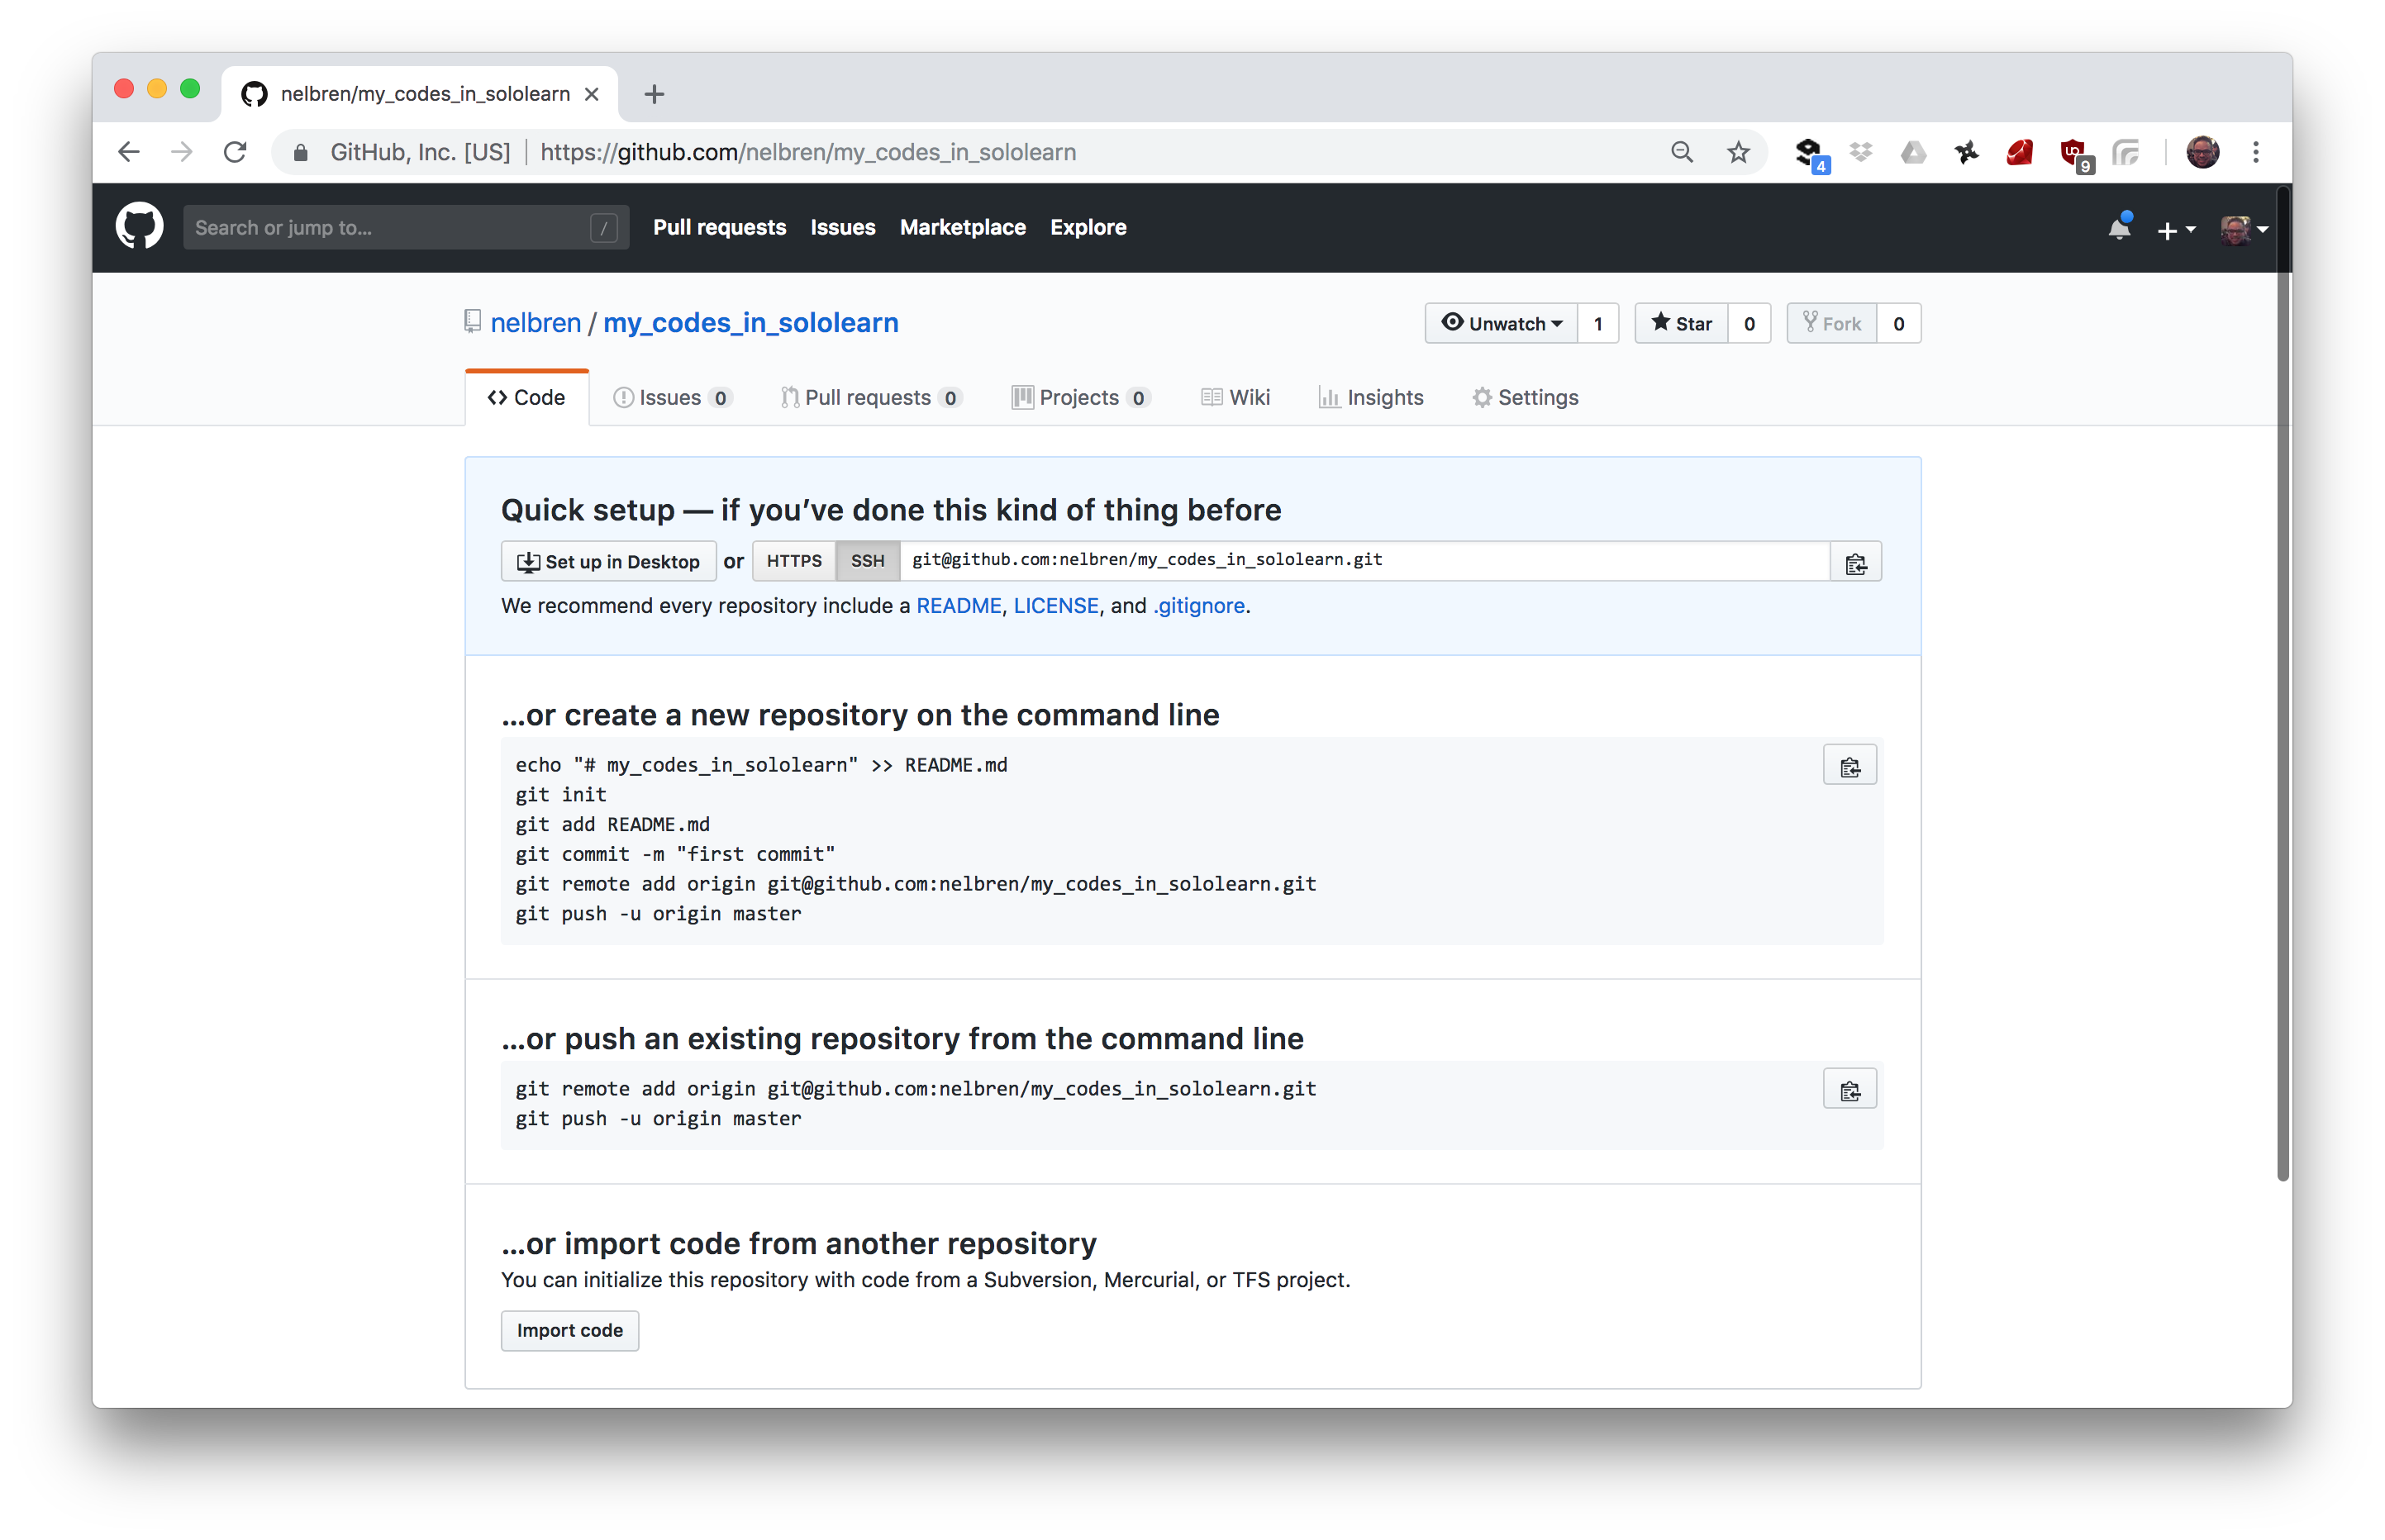
NOTE 1: In the case of a project of its own, I advise using ssh with the use of public and private keys.
NOTE 2: In the case of using https, when obtaining changes from the repository no password is required. It is only required when changes are sent to the repository.
3. Configure public and private key
- Create keys using command line ( Linux o MAC)
ssh-keygen -t dsa
-
Create keys using PuTTYgen ( Windows)
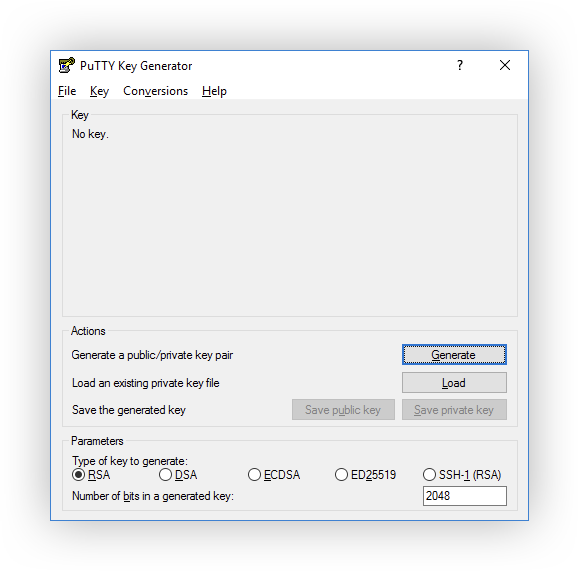
See instructions on PUTTYGEN - KEY GENERATOR FOR PUTTY ON WINDOWS
-
Assign public key to Github
-
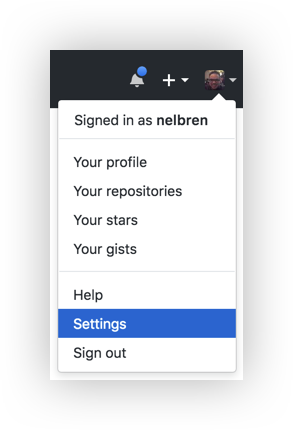
Click on Settings
-
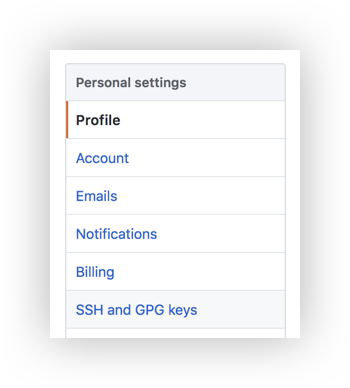
Click on SSH and GPG keys
-
Click on New SSH key

-
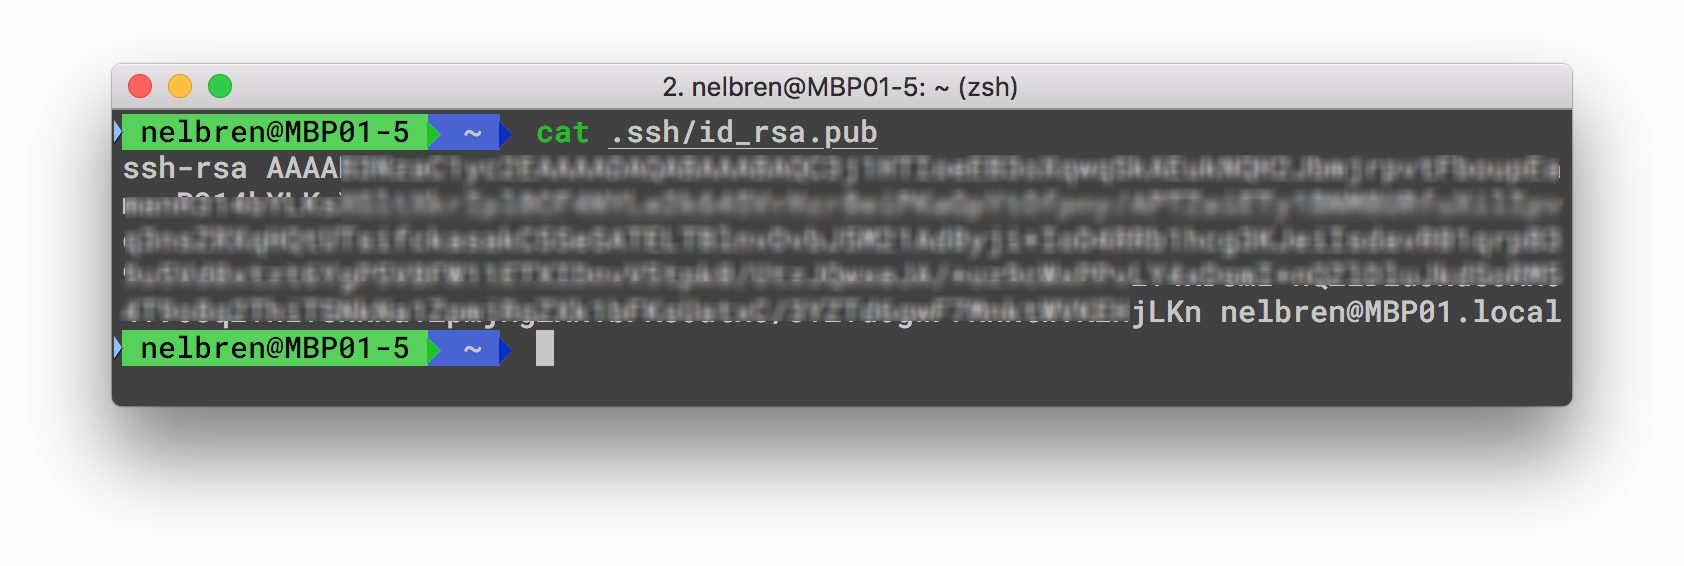
Copy the public key generated to clipboard
-
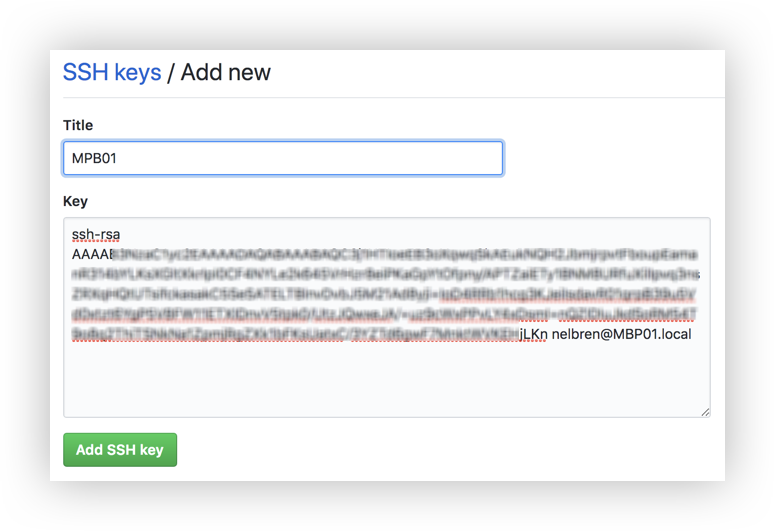
Paste the public key from the clipboard and assign it a title, click on Add SSH key
-
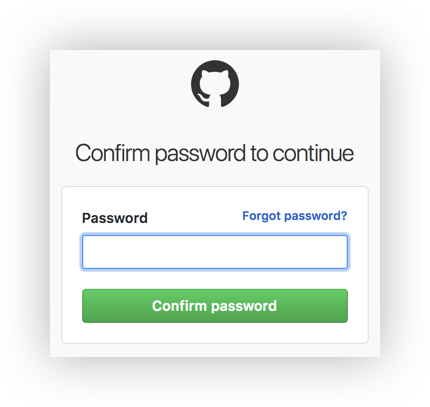
Confirm the assignment with the password from account
-
4. Upload files to the repository
-
For the first time - v0.0.1
git init
git add .
git commit -m "Mi primera vez!"
git remote add origin git@github.com:nelbren/my_codes_in_sololearn.git
git push -u origin master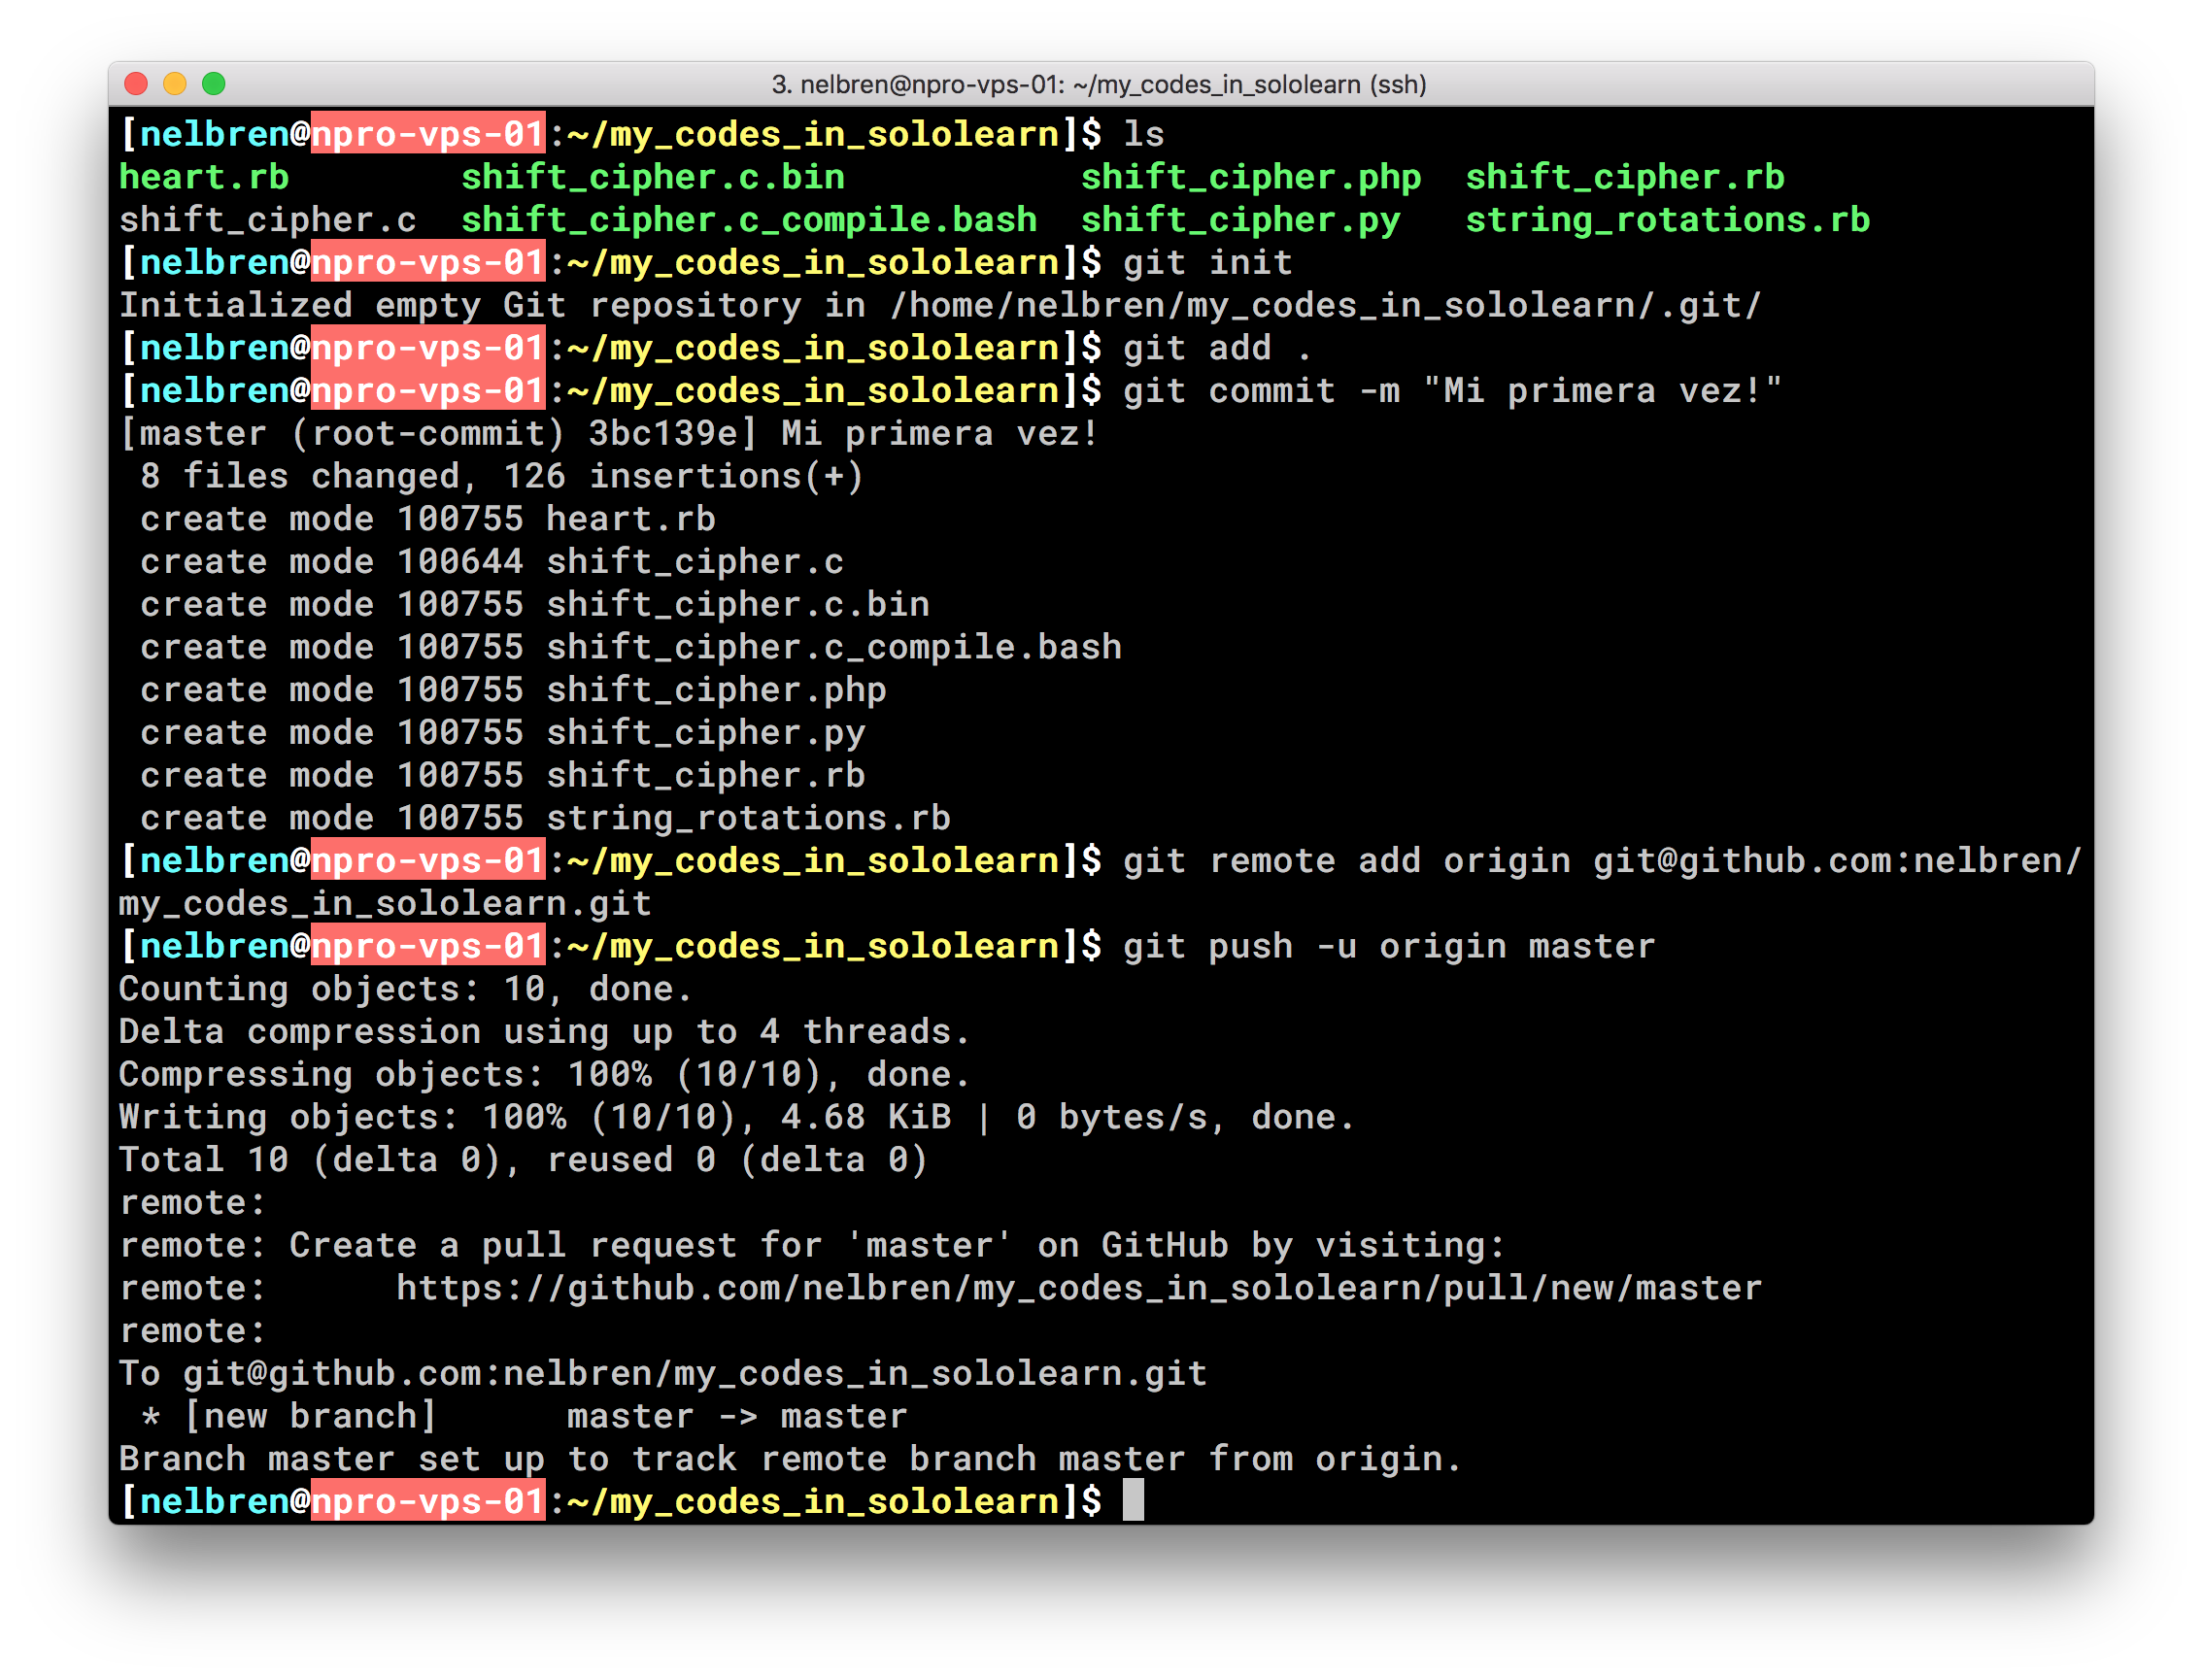
-
For the second time - v0.0.2
git status
echo shift_cipher.c.bin > .gitignore
git add .
git commit -m "Update to v0.0.2"
git push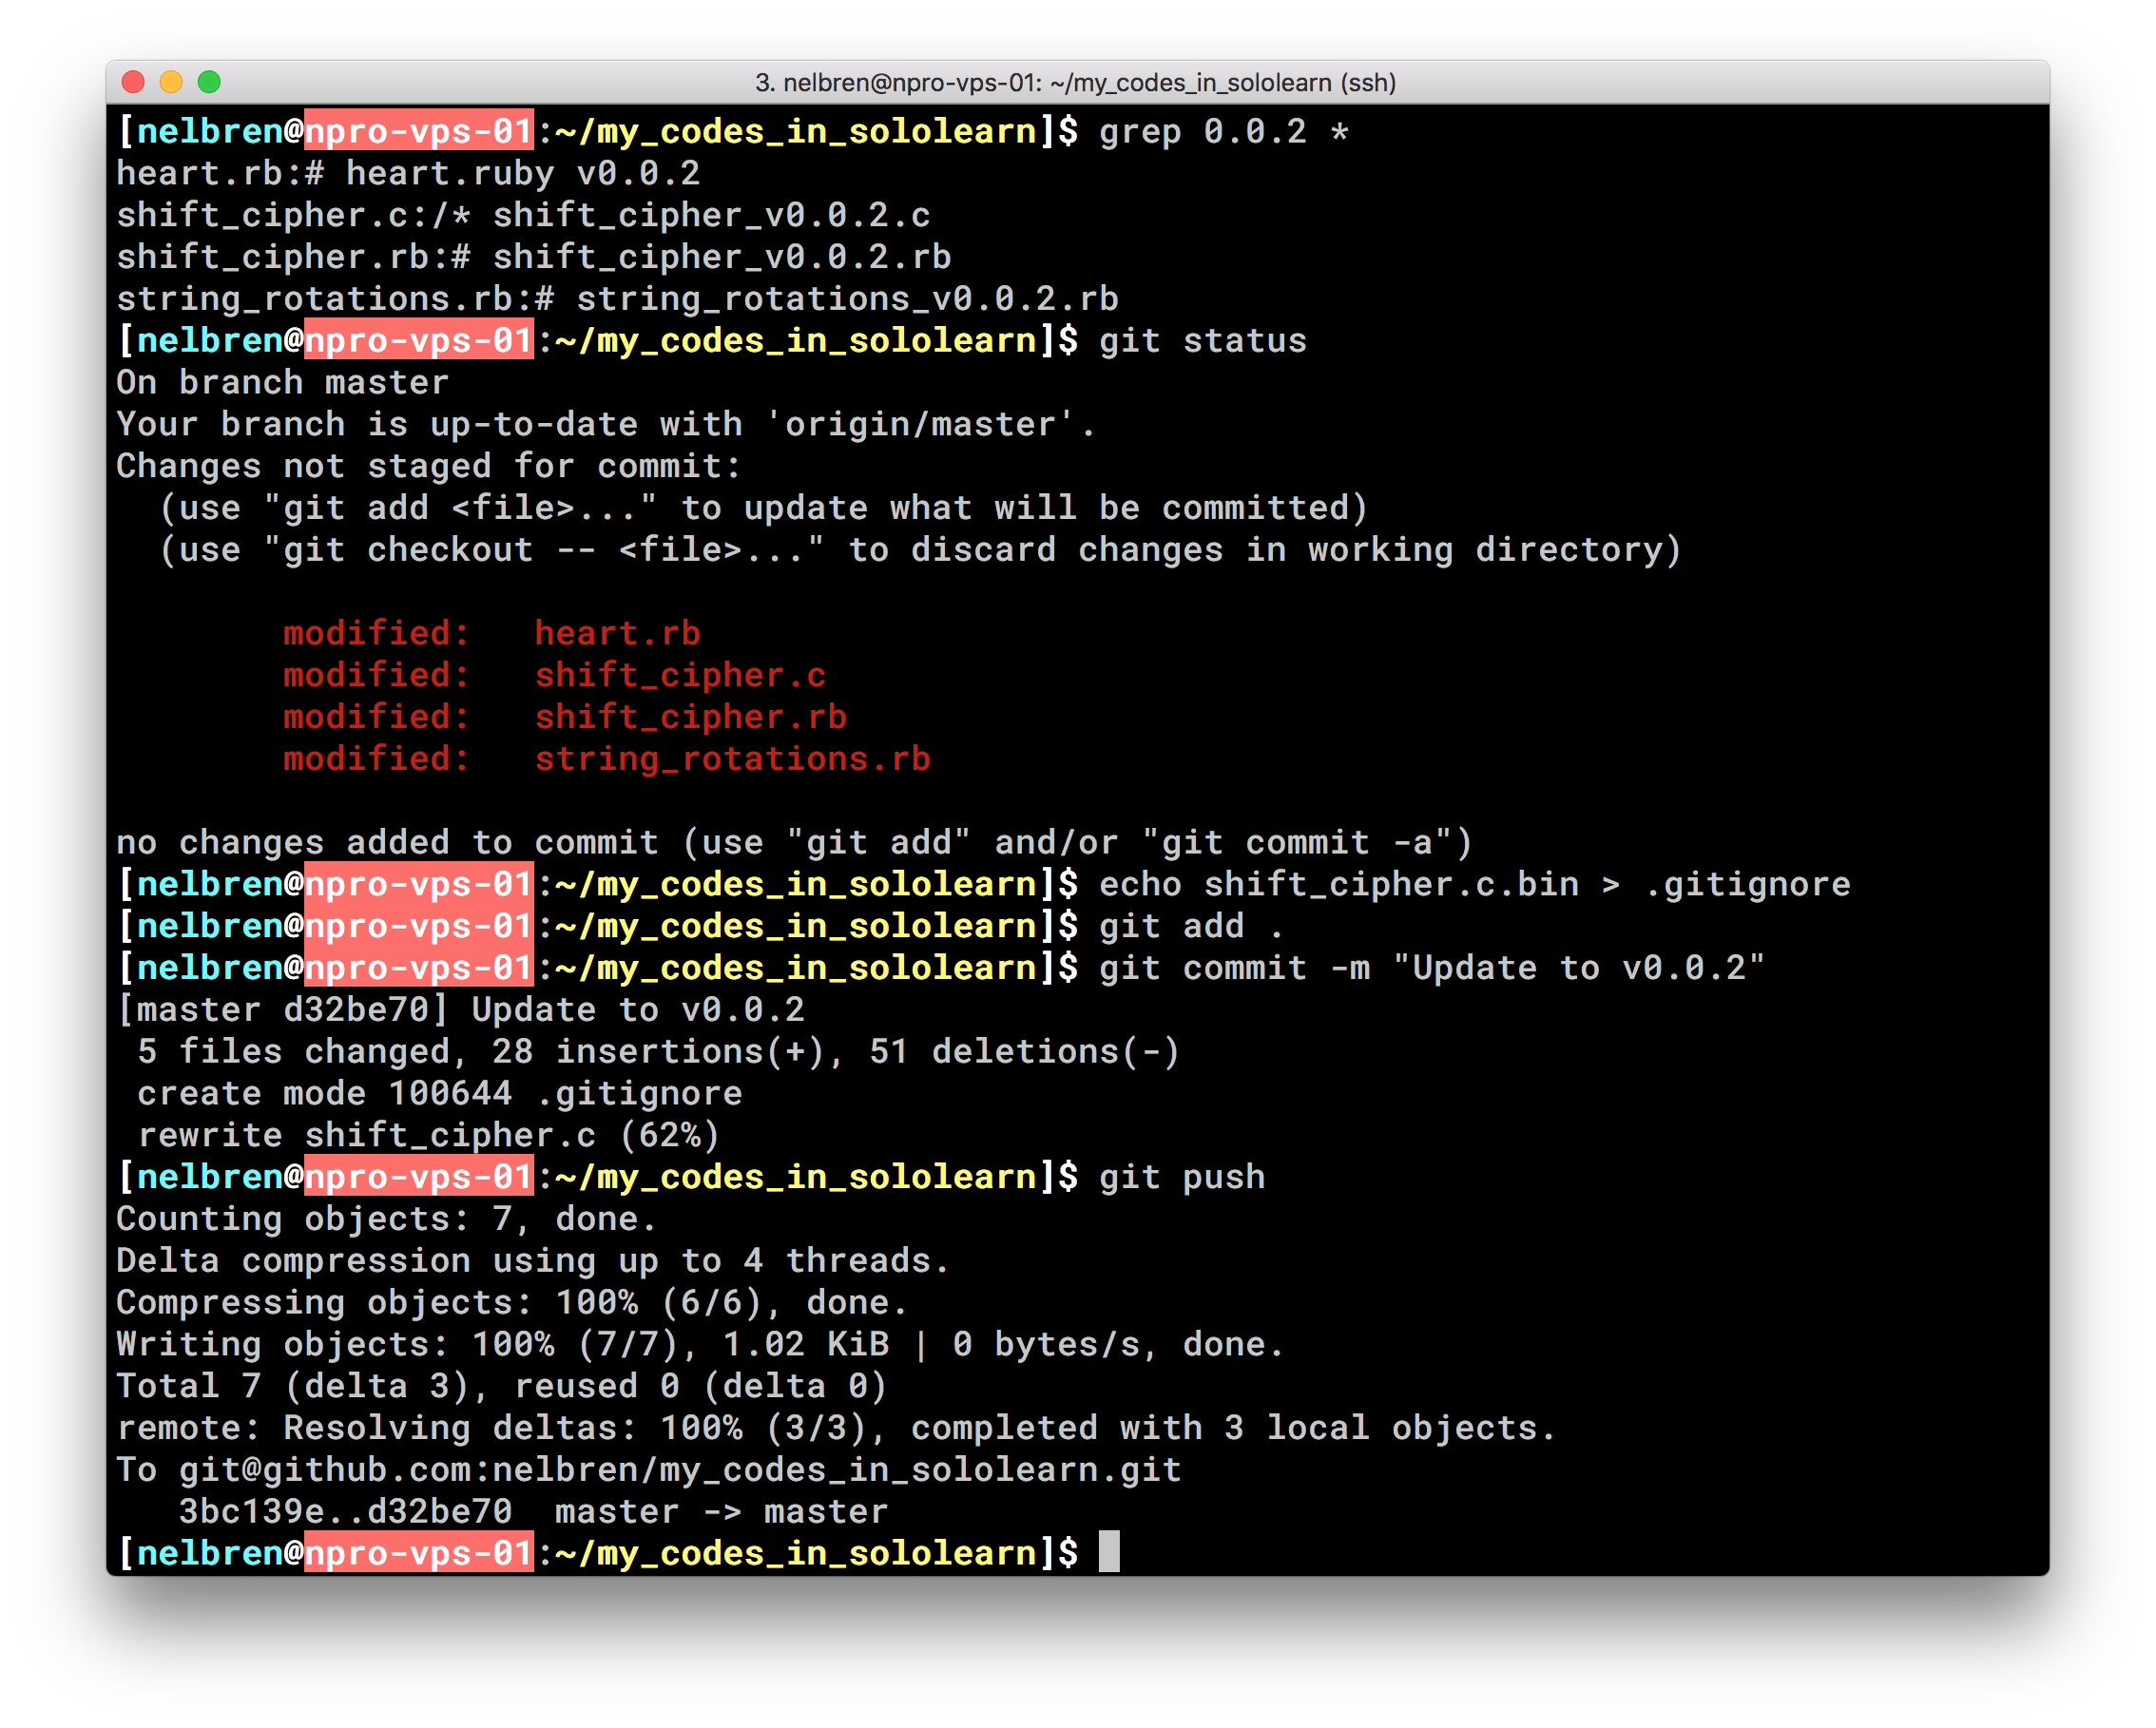
-
For the third time - v0.0.3
rm shift_cipher.c.bin
git status
git add .
git commit -m "Update to v0.0.3"
git push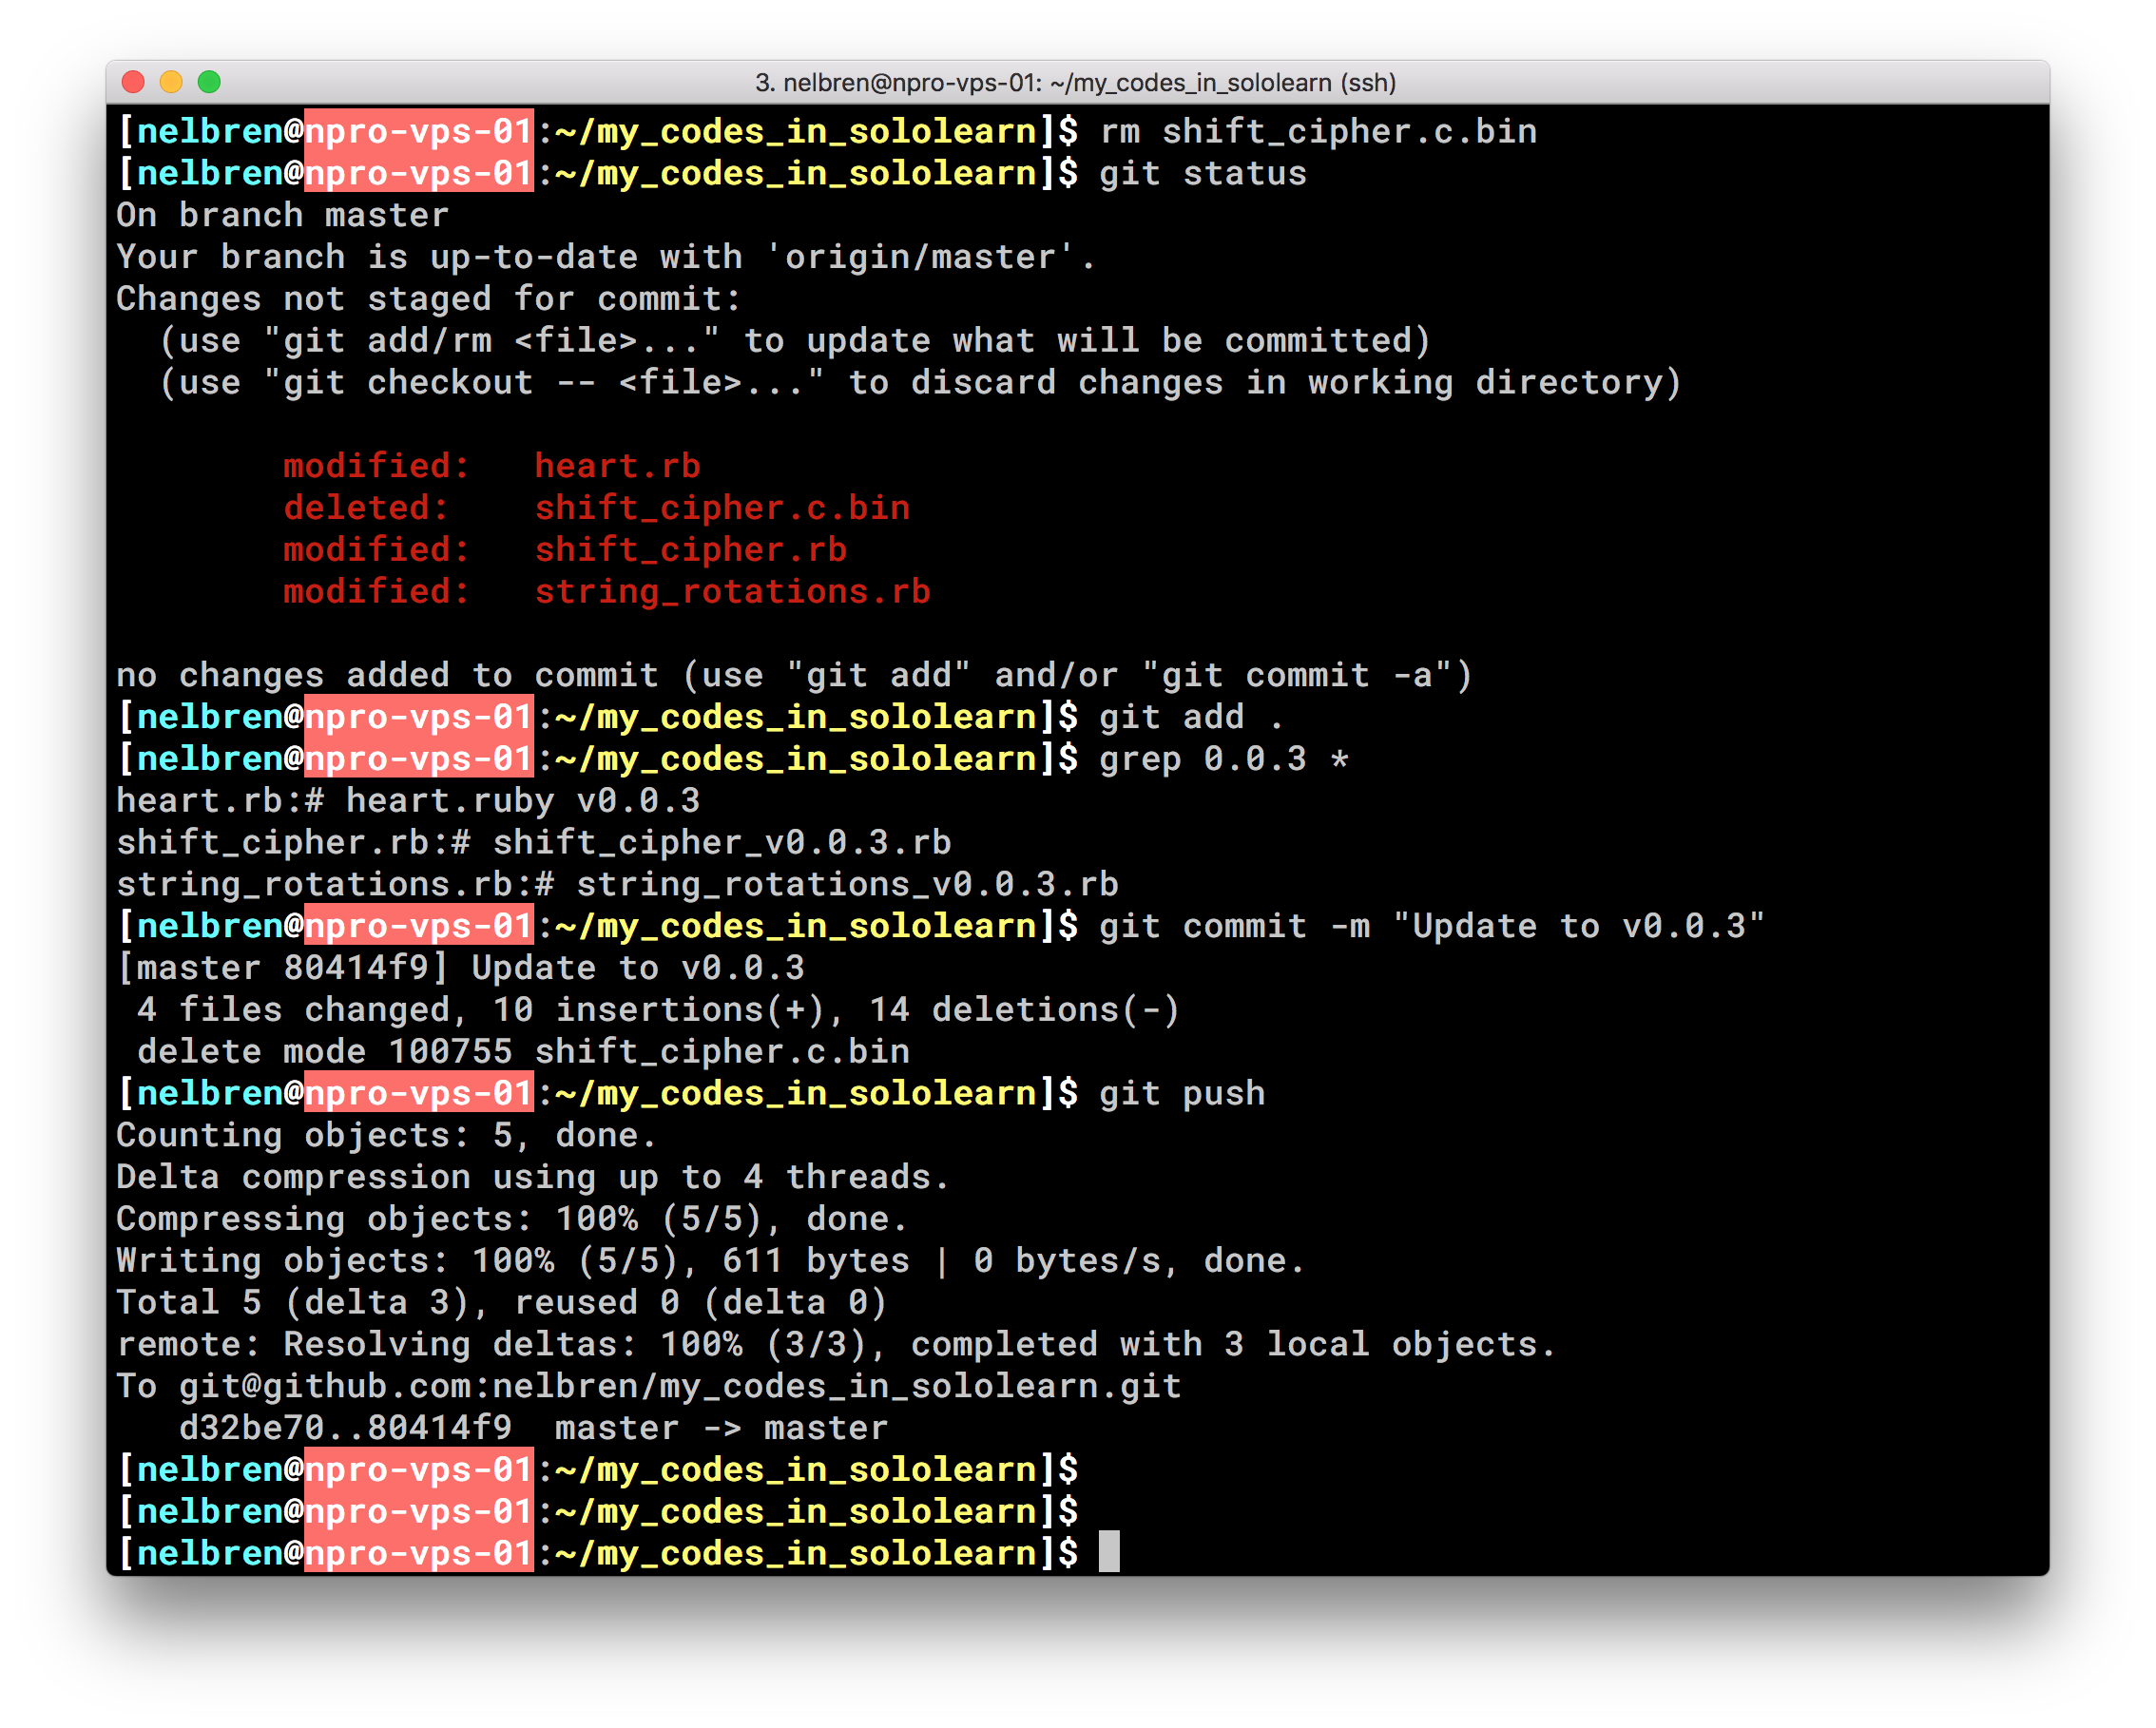
5. Results of changes
Github (version control) versus SoloLearn (learning/execution environment)
 Version Control of SoloLearn on Github


